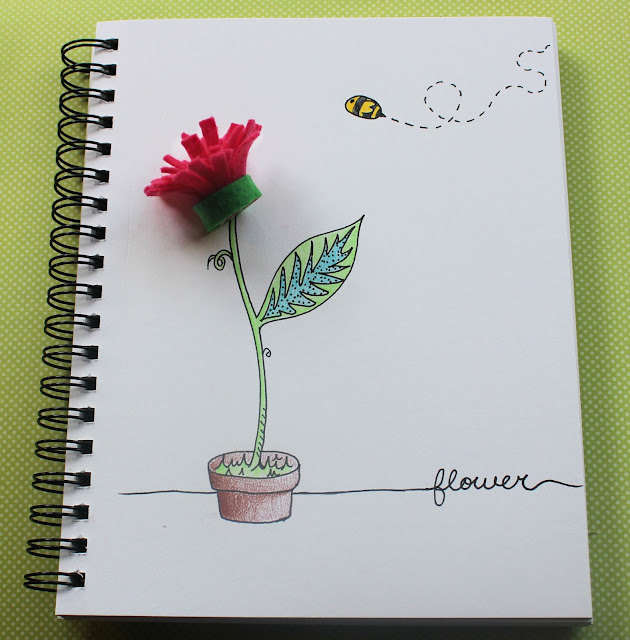
These felt spider mum flowers (chrysanthemums) are so easy to make. All you need is felt, scissors, and glue.
1. Cut strips of felt. I cut across the short side of a piece of felt so that the strips are 8.5 inches by 1.25 inches. You can play around with different sizes to make smaller or larger flowers. (Also, did you know that you can use a good paper cutter to cut felt one sheet at a time? HUGE time saver!)
2. Cut small slits all along the strip of felt. Cut them to the width that you like. Make sure that you don't cut all of the way through the felt or get too close to the edge. (Don't worry too much, if you cut through you can just glue the two pieces together. Once the flower is rolled you won't be able to see it.)
3. Start at one end and tightly roll the strip into a flower. Add a few dabs of glue (I used a hot glue gun) along the inside base as you go.
4. Glue a thin strip of green felt along the outside of the base of the flower. Make sure that the base is flat and secure.
5. You are done. It is quick and easy to make lots of these flowers in different colors.
Fluff out the petals for a fuller look.
To finish and secure the bottom of the flower (you may not want to do this if you are using these flowers in another project), glue a small felt circle to the bottom of the flower.
To make the center of the flower stick out a little higher than the edges, slightly push the middle part of the flower in before you attach the felt circle (As in the flower on the left in the picture below).


